
excel 進銷存
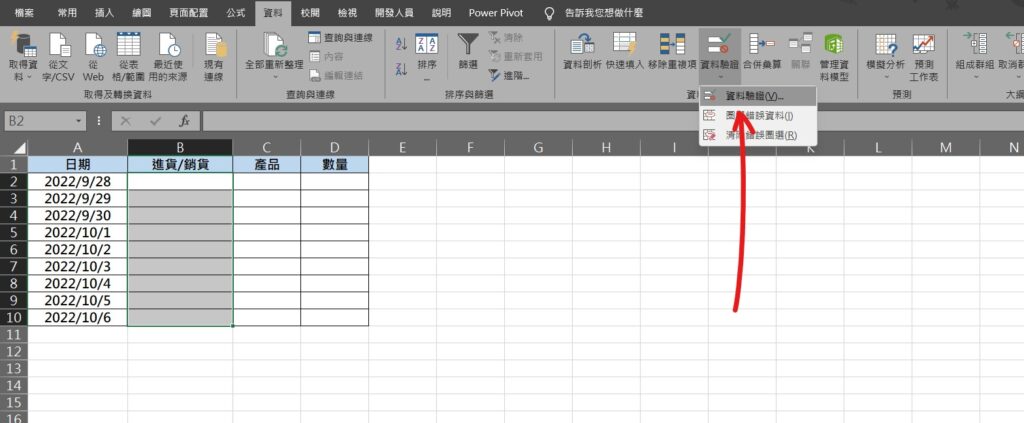
Step 1 在資料欄位中,將「進貨/銷貨」欄位儲存格範圍選取,在功能列「資料」中資料工具選擇「資料驗證」

Step 2 在「儲存格內允許」選擇「清單」,並在「來源」輸入「進貨,銷貨」,完成設定後按下確定
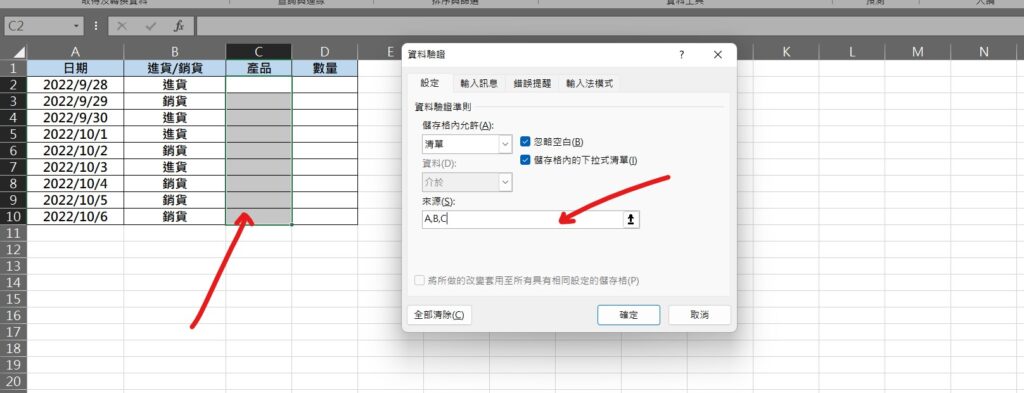
Step 3 重複前面步驟,將「產品」儲存格範圍設定資料驗證,並在「來源」輸入「A,B,C」產品名稱
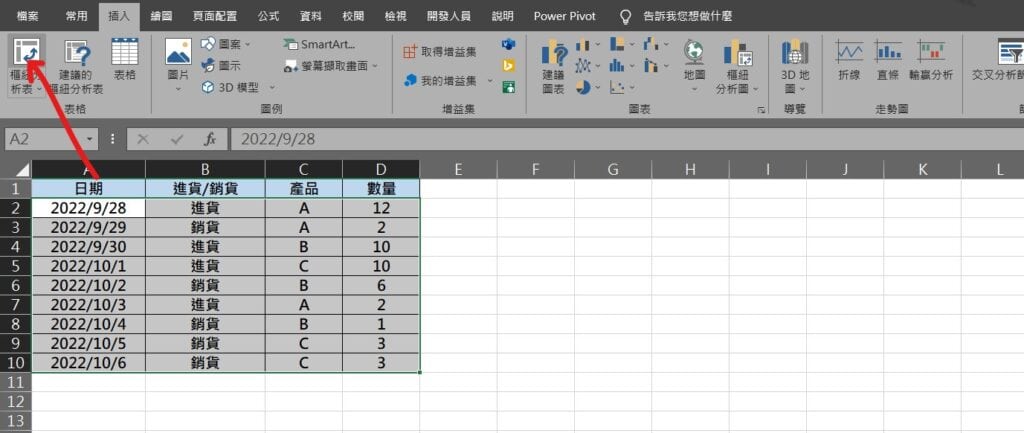
Step 4 將資料儲存格範圍選取,在功能列「插入」中表格選擇「樞紐分析表」
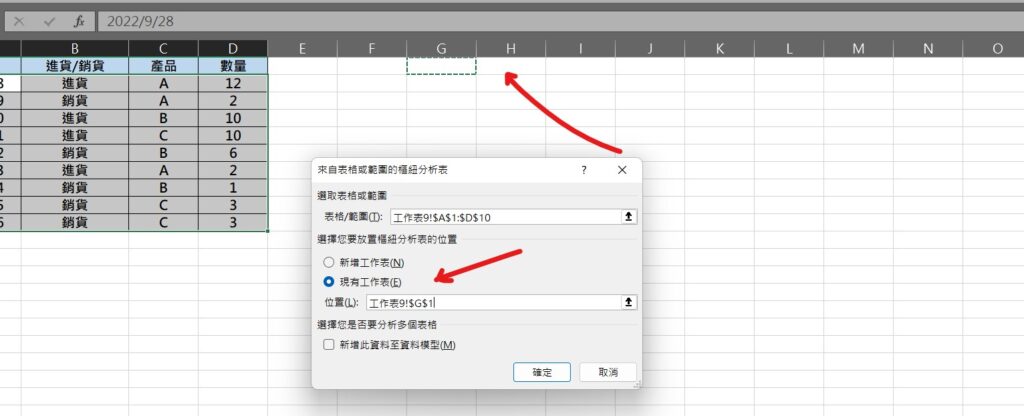
Step 5 選擇「現有工作表」,並選擇要放置樞紐分析表的儲存格位置,完成後按下確定
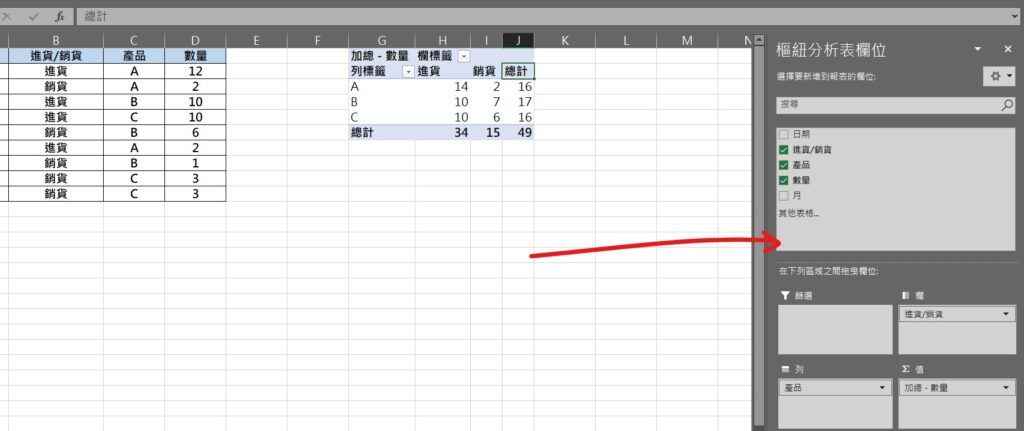
Step 6 在右方「樞紐分析表欄位」視窗中,將欄位拖移至上方圖表位置,「欄」放置「進貨/銷貨」,「列」放置「產品」,「值」放置「加總-數量」
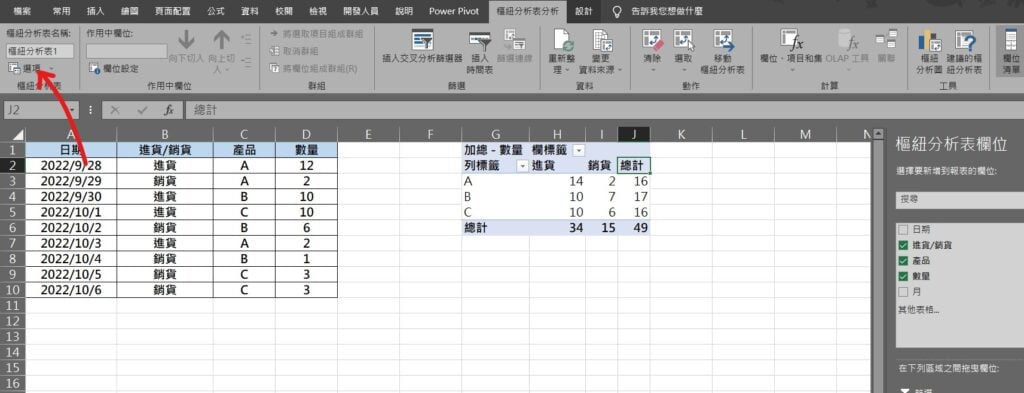
Step 7 在功能列「樞紐分析表分析」中樞紐分析表選擇「選項」

Step 8 在「總計與篩選」中,將「顯示列的總計」選項取消勾選,完成設定後按下確定
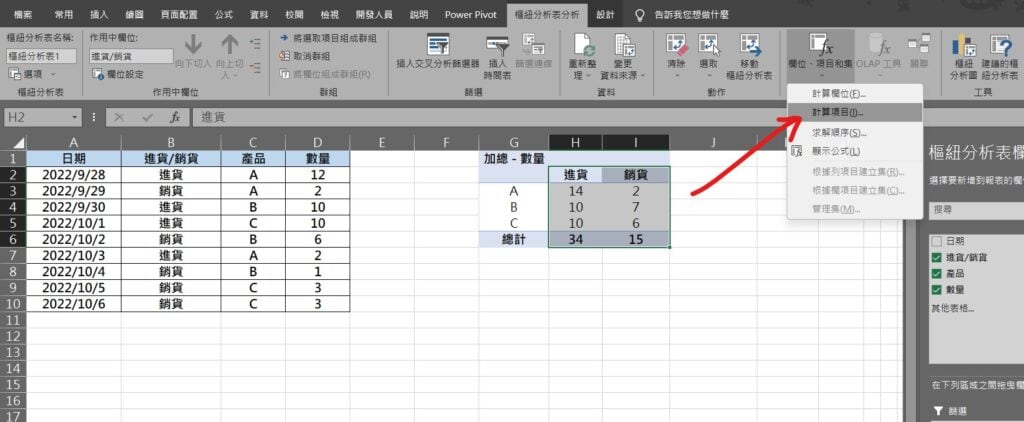
Step 9 將「進貨」與「銷貨」欄位選取,在功能列「樞紐分析表分析」中計算選擇「欄位、項目和集」內的「計算項目」
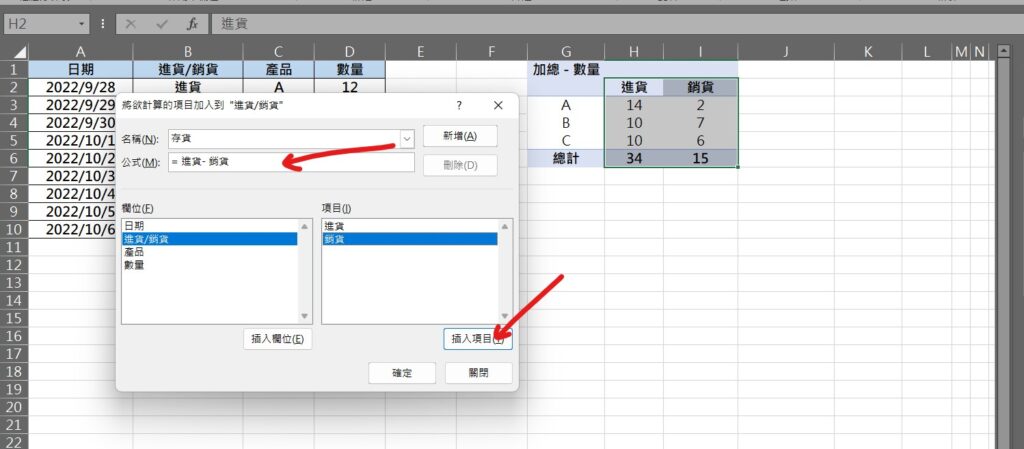
Step 10 在「名稱」中輸入「存貨」,並在公式以「插入項目」的方式輸入公式「=進貨 – 銷貨」,完成設定後按下確定就完成了!
【教學】網拍族必學!Excel 如何製作簡易進銷存系統?跟著步驟馬上搞定!