
excel 批量插入圖片
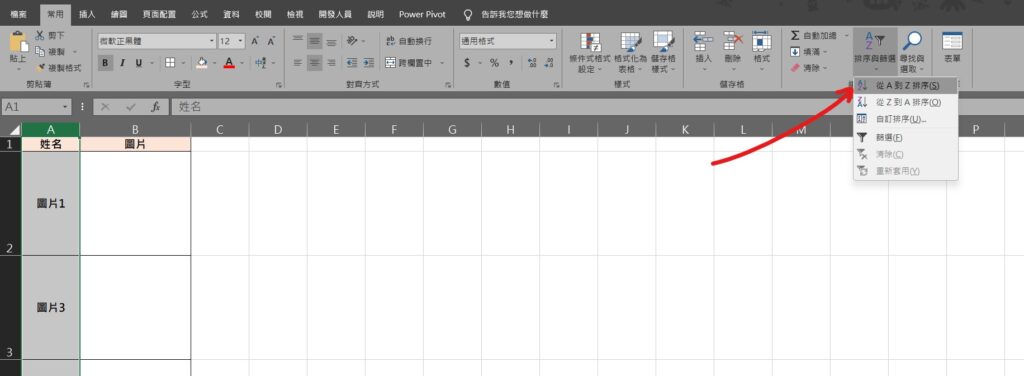
Step 1 先將檔案名稱欄位選取,在功能列「常用」中編輯選擇「排序與篩選」內的「從A到Z排序」
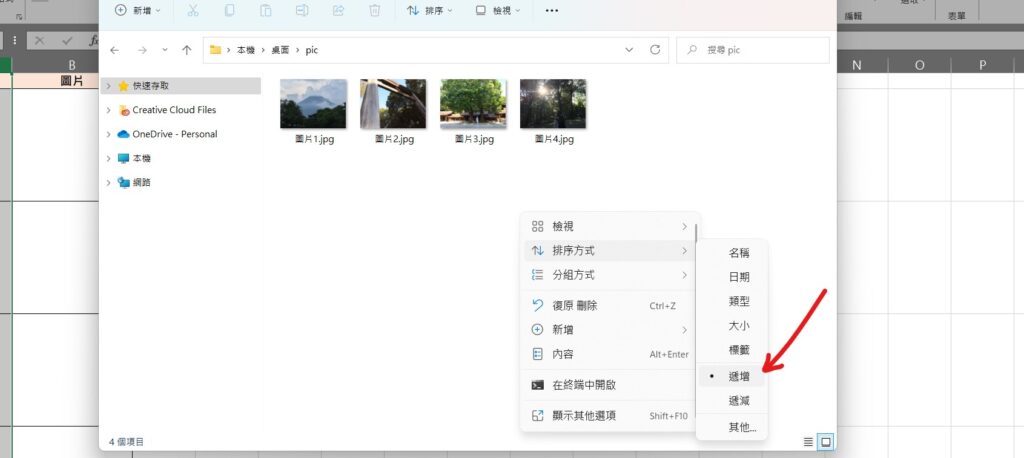
Step 2 打開存放圖片的資料夾,在資料夾內點擊滑鼠「右鍵」,並選擇「排序方式」內的「遞增」
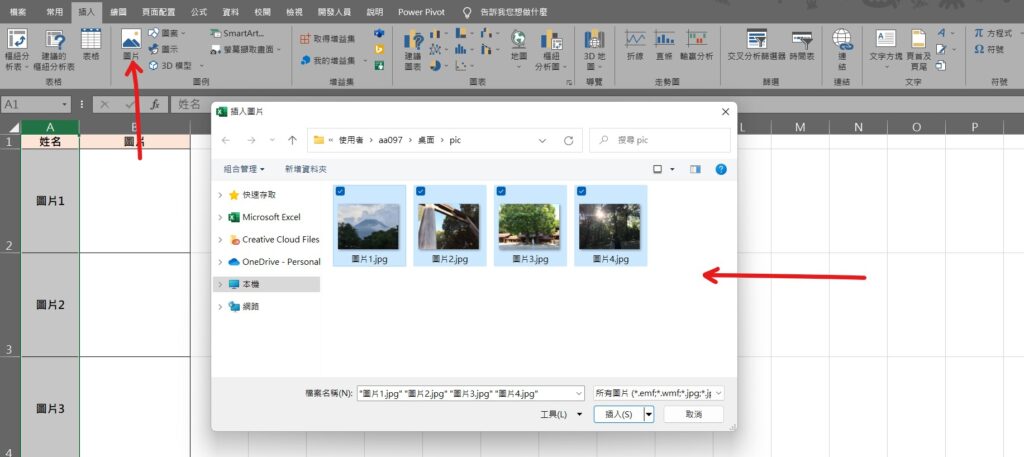
Step 3 在功能列「插入」中圖例選擇「圖片」,並全選圖片後按下「插入」
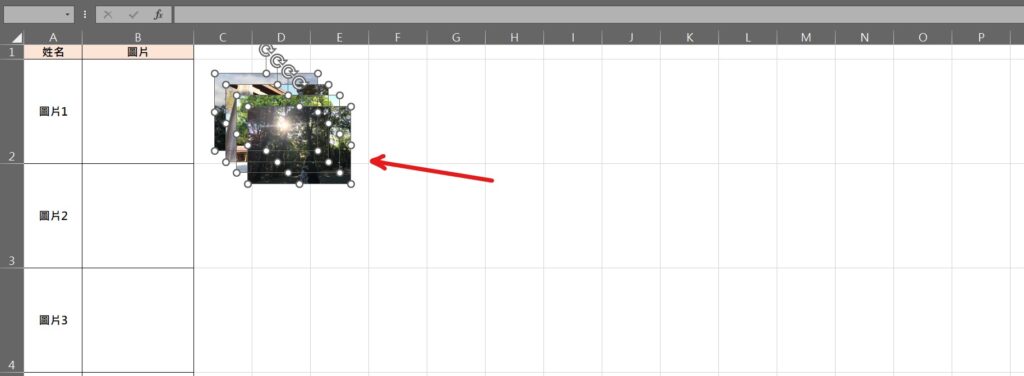
Step 4 將圖片一起調整至適當大小

Step 5 將第一張照片放至第一個儲存格,將最後一張照片放至最後一個儲存格

Step 6 點擊其中一張圖片,使用鍵盤快速鍵「Ctrl+A」將圖片全選,在功能列「圖片格式」中排列選擇「對齊」內的「靠左對齊」
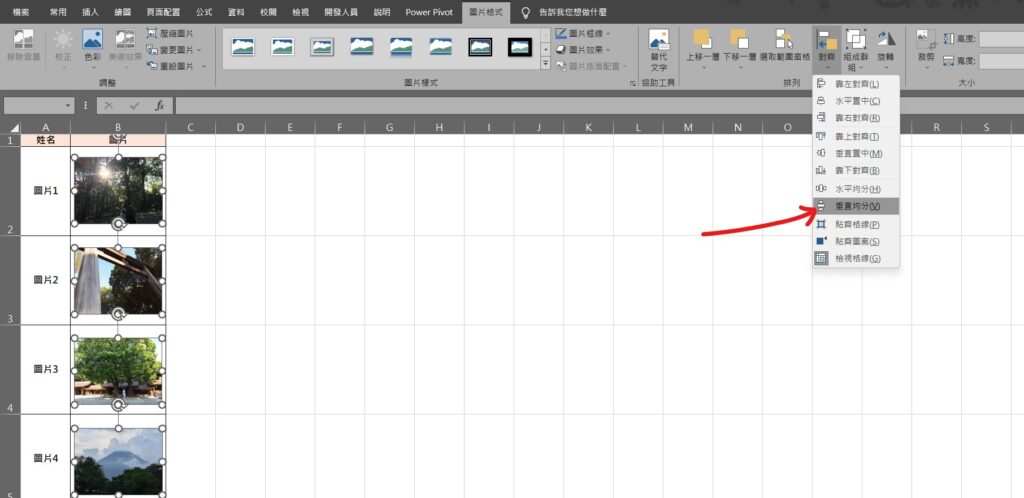
Step 7 在功能列「圖片格式」中排列選擇「對齊」內的「垂直均分」即可將圖片排列整齊
【教學】Excel 如何批量插入大量圖片?超快速馬上排列整齊!