ppt 批量裁剪
![ppt 批量裁剪](https://sp-ao.shortpixel.ai/client/to_webp,q_glossy,ret_img,w_1024,h_472/https://jafnnote.com/wp-content/uploads/2023/02/1-12-1024x472.jpg)
Step 1 插入圖片後,將圖片全選,在功能列「圖片格式」中圖片樣式選擇「圖片版面配置」內的「圖片格線」
![](https://sp-ao.shortpixel.ai/client/to_webp,q_glossy,ret_img,w_1024,h_506/https://jafnnote.com/wp-content/uploads/2023/02/2-12-1024x506.jpg)
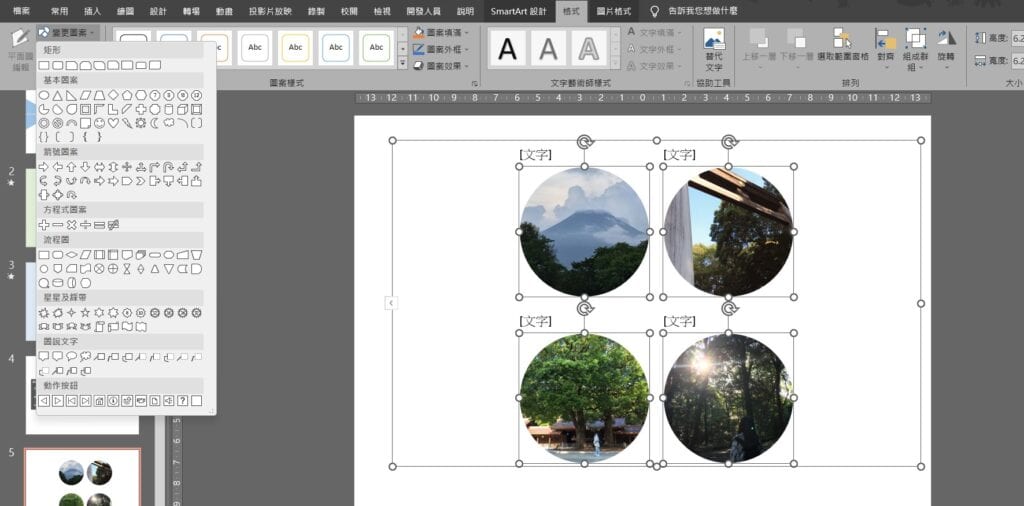
Step 2 按住鍵盤「Shift」鍵將圖片全選,在功能列「格式」中選擇「變更圖案」,選擇要裁切成的形狀
![ppt 批量裁剪](https://sp-ao.shortpixel.ai/client/to_webp,q_glossy,ret_img,w_1024,h_447/https://jafnnote.com/wp-content/uploads/2023/02/3-7-1024x447.jpg)
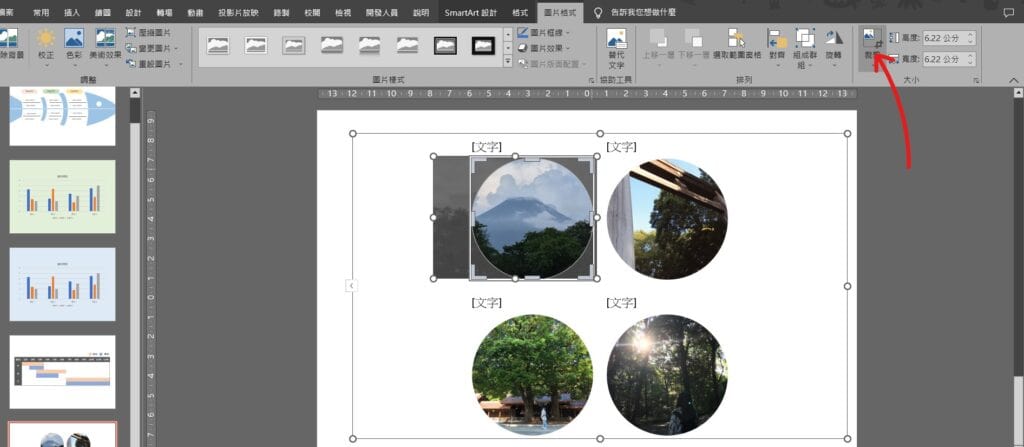
Step 3 點選單張圖片,在功能列「圖片格式」中大小選擇「裁剪」,即可調整圖片裁切部分
![](https://sp-ao.shortpixel.ai/client/to_webp,q_glossy,ret_img,w_1024,h_447/https://jafnnote.com/wp-content/uploads/2023/02/4-5-1024x447.jpg)
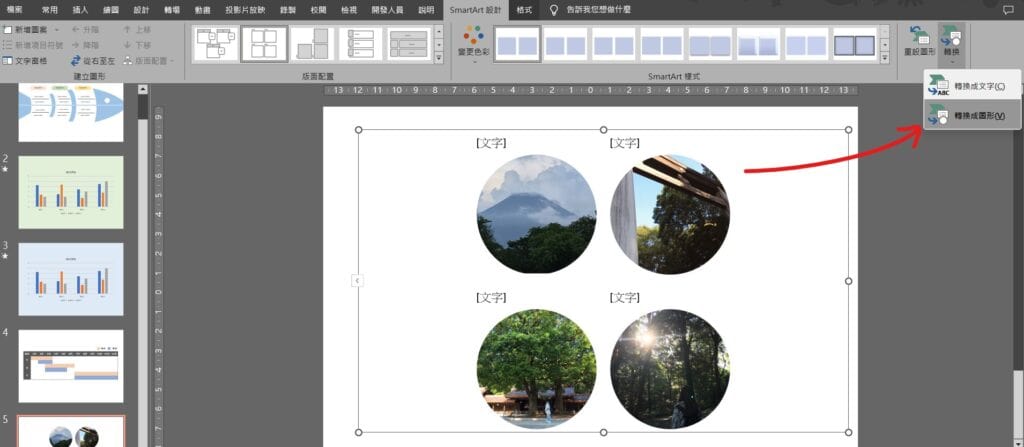
Step 4 點選SmartArt,在功能列「SmartArt設計」中選擇「轉換」內的「轉換成圖形」
![ppt 批量裁剪](https://sp-ao.shortpixel.ai/client/to_webp,q_glossy,ret_img,w_1024,h_453/https://jafnnote.com/wp-content/uploads/2023/02/6-2-1024x453.jpg)
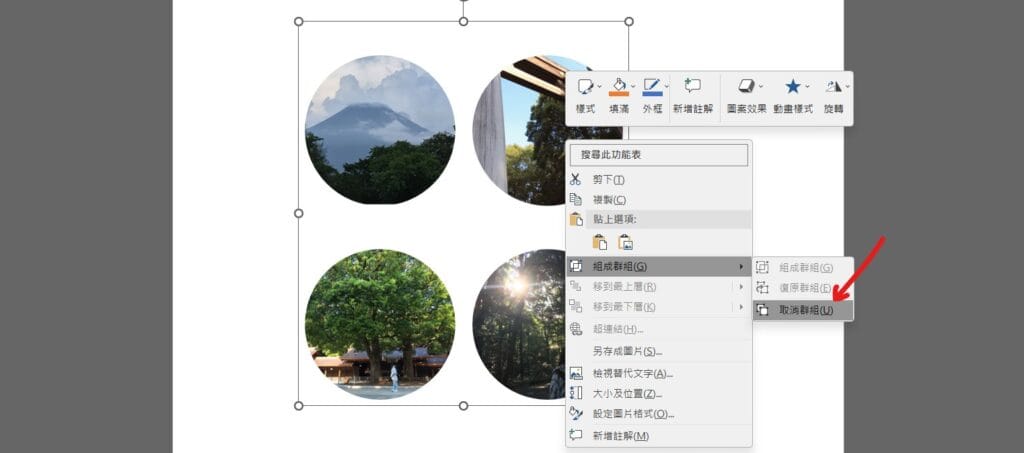
Step 5 在圖形點擊滑鼠「右鍵」,並選擇「組成群組」內的「取消群組」即可
【教學】PowerPoint 如何一次裁剪多張圖片?超簡單馬上搞定!
If some one neesds expert viesw concerning blogging afterward i suggest him/her too pay a quick vusit this weblog, Keep up thee fastidiious work.