
ppt 圖案內文字
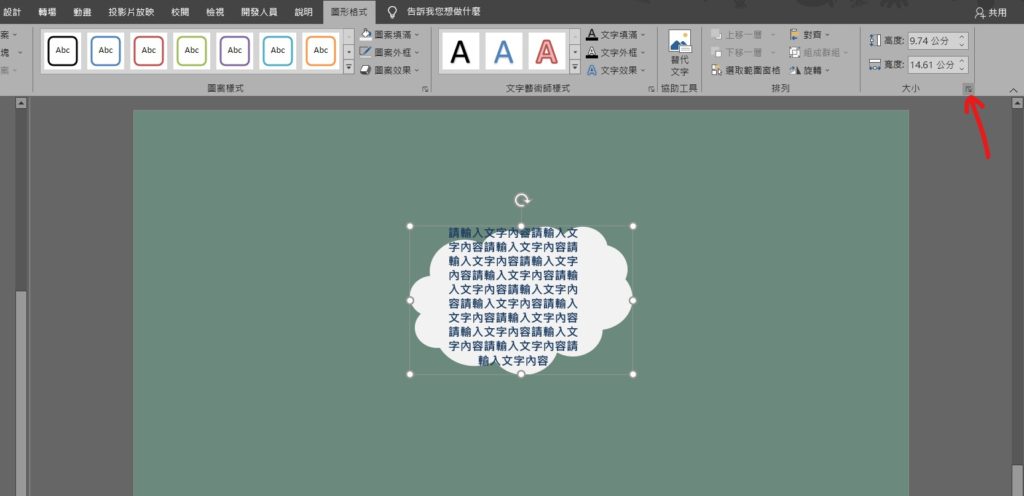
Step 1 在功能列「圖形格式」中選擇「更多大小設定」
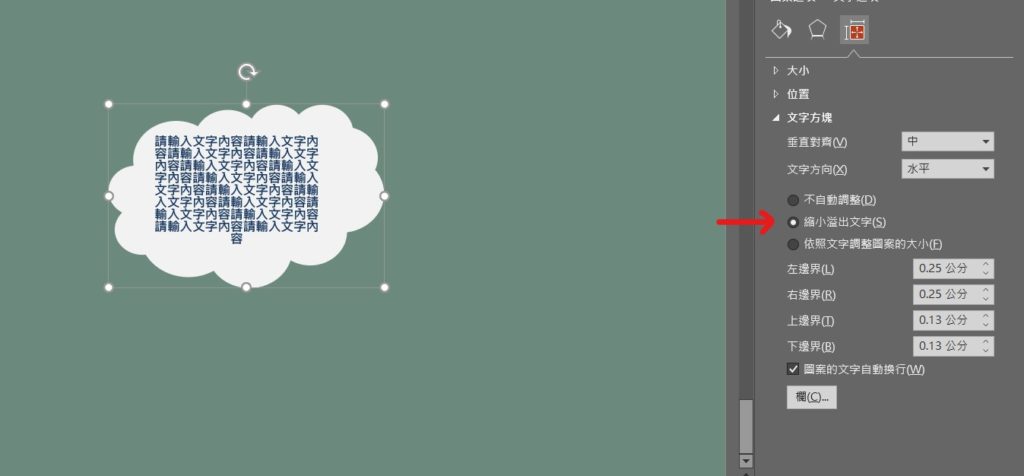
Step 2 在「文字方塊」中文自預設是「不自動調整」,可以依照需求調整為「縮小溢出文字」,當文字超過圖案時會自動縮小文字,或是選擇「依照文字調整圖案的大小」,當文字超過圖案時會調整圖案大小
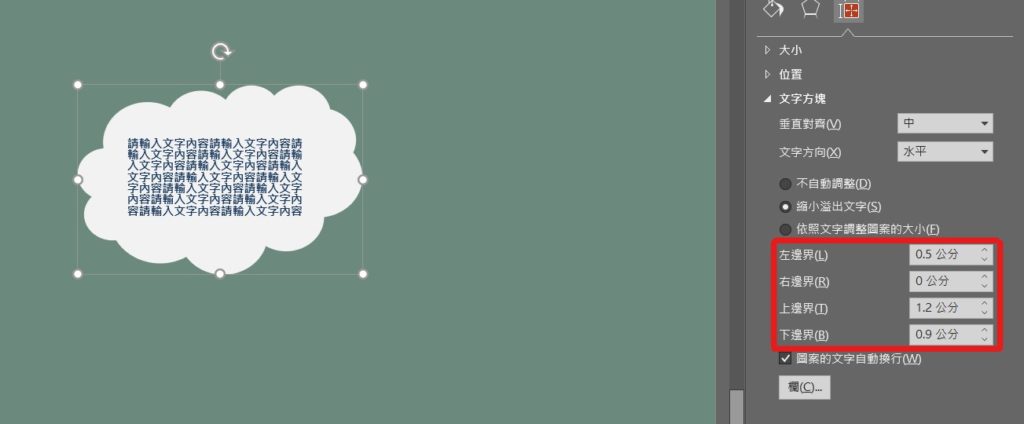
Step 3 透過調整「左」、「右」、「上」、「下」邊界可以使文字排版更加舒適整齊
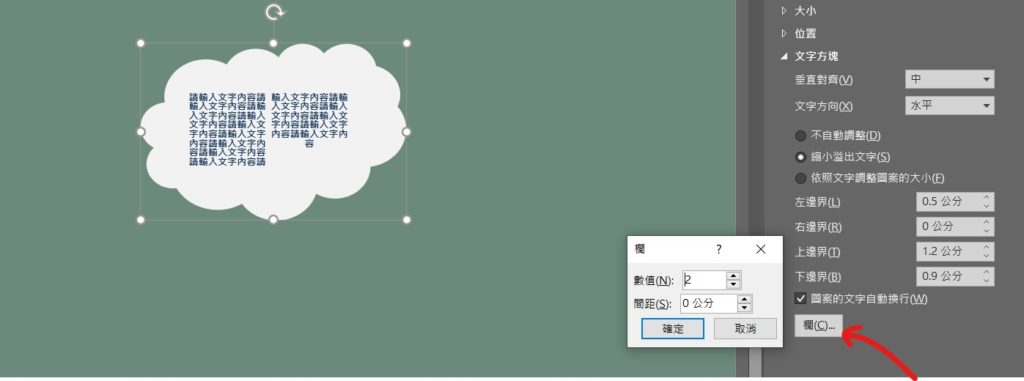
Step 4 點選「欄」可以將圖案內的文字進行分欄,在「數值」輸入分欄數量後按下「確定」就可以囉!
【教學】PowerPoint 如何編輯圖案內文字排版及邊界寬度?
Howdy! This post could not be written any better! Reading this post reminds
me of my previous room mate! He always kept talking
about this. I will forward this article to him.
Pretty sure he will have a good read. Thanks for sharing!
Also visit my page … area52
thank you!
I’d like to thank you for the efforts you’ve put in penning
this blog. I really hope to check out the same high-grade content from
you later on as well. In truth, your creative writing abilities
has encouraged me to get my very own blog now ;
)
thank you😄