
ppt 魚骨圖
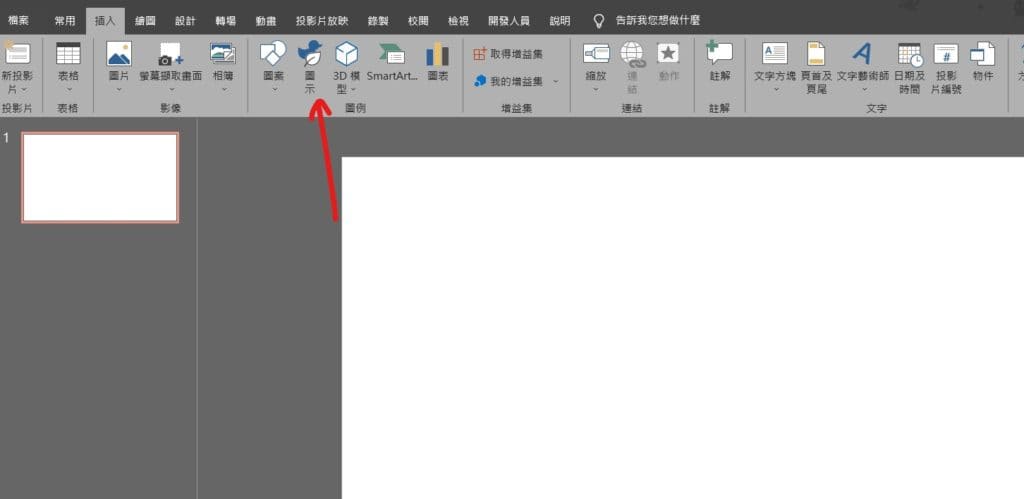
Step 1 在功能列「插入」中圖例選擇「圖示」
PS.若找不到「圖示」也可以自行從網路上抓取「魚」的ICON
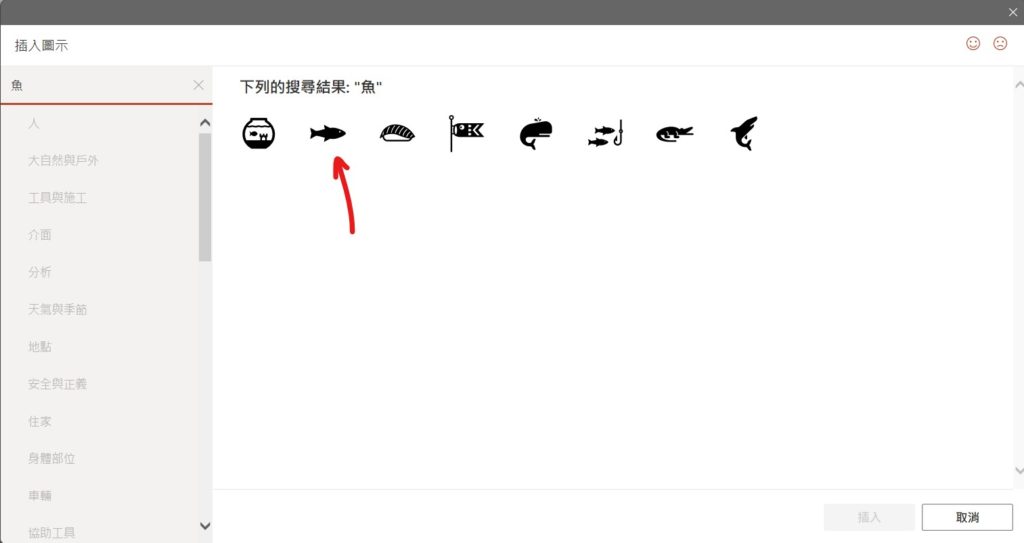
Step 2 搜尋「魚」找到魚的圖示後按下「插入」
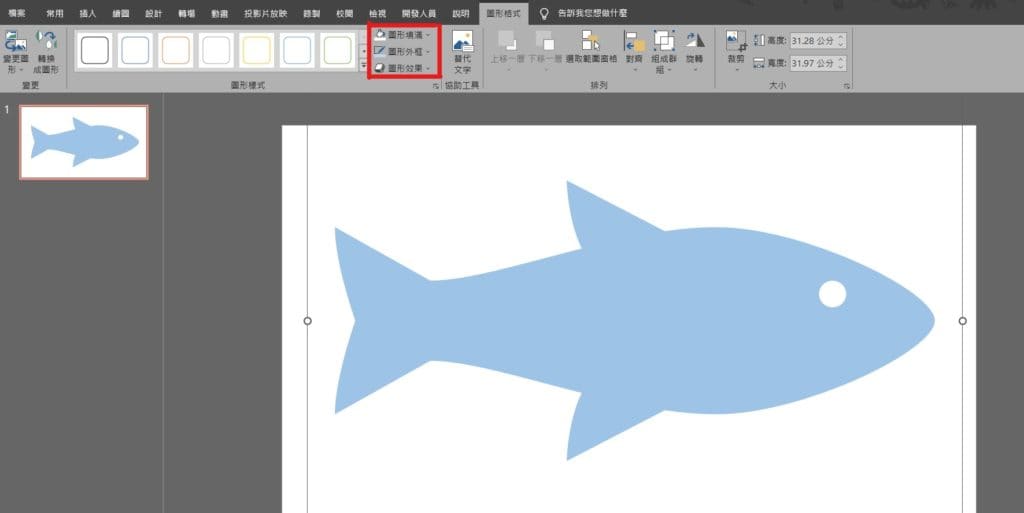
Step 3 點選「圖示」後,在功能列「圖形格式」中圖形樣式可以修改「圖形填滿」以及「圖形外框」來改變圖形樣式
Step 4 在功能列「插入」中圖例選擇「圖案」內的圖形來遮住「魚」的魚鰭部分,將「圖案填滿」調整為白色,「圖案外框」調整為無外框
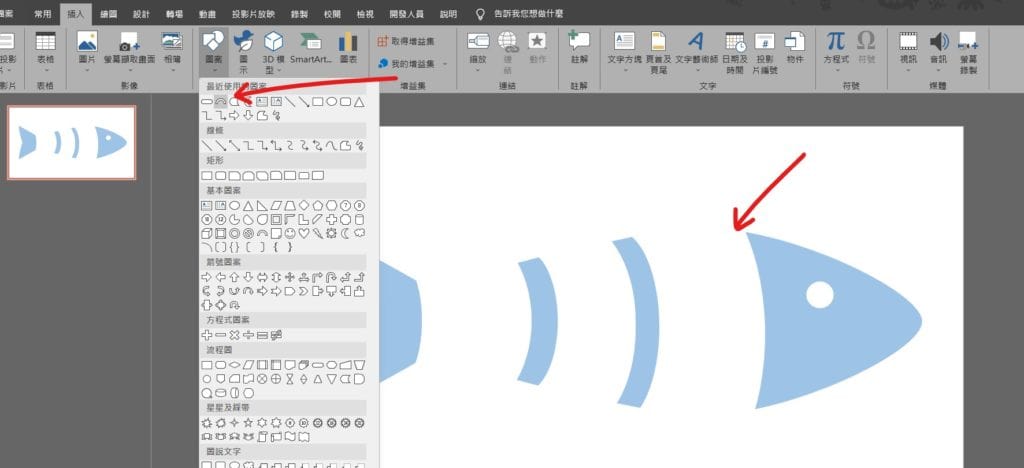
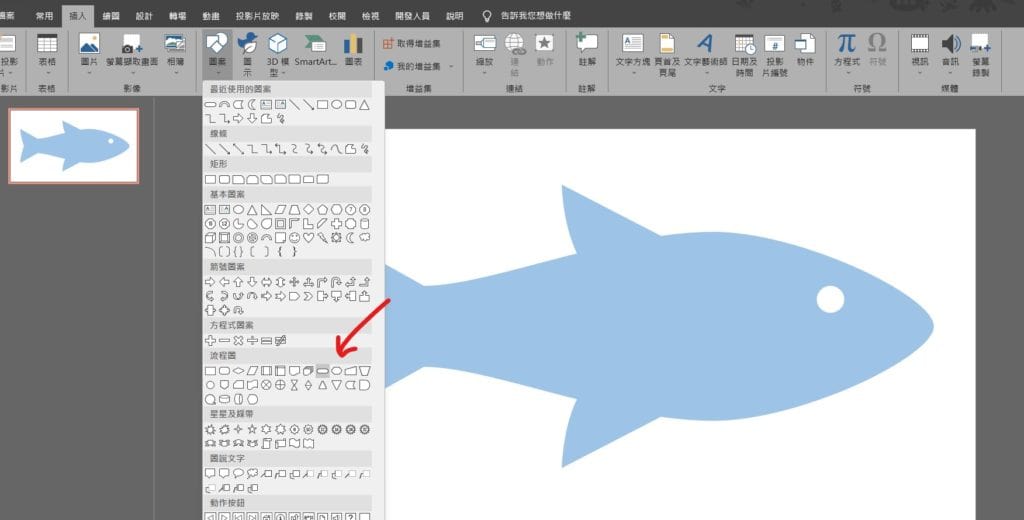
Step 5 在功能列「插入」中圖例選擇「圖案」內的栱形來繪製魚骨部分,依然是將「圖案填滿」調整為白色,「圖案外框」調整為無外框
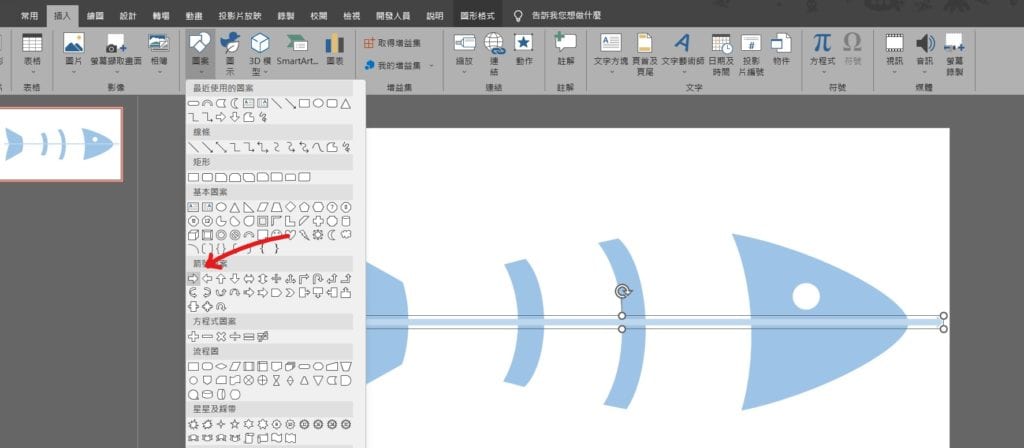
Step 6 在功能列「插入」中圖例選擇「圖案」內的「箭頭」,並繪製
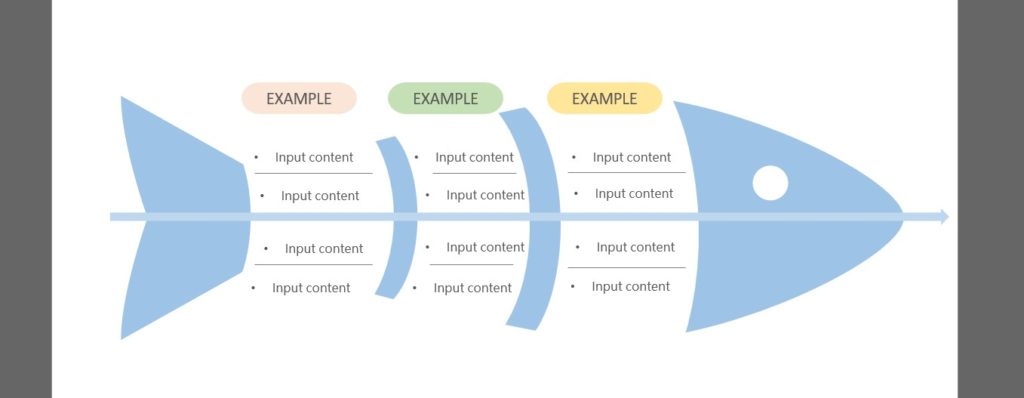
Step 7 最後將資料內容填上就完成囉!
【教學】PowerPoint 如何自製魚骨圖?手把手教你完成!內附下載檔案