word 實心方塊

Step 1 在功能列「插入」中圖例選擇「圖案」內的「矩形」,並按住滑鼠左鍵拖移來繪製圖案
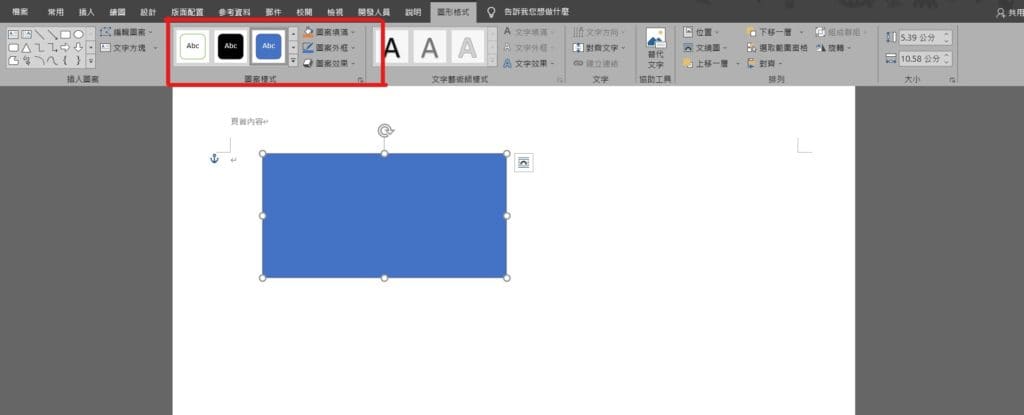
Step 2 點擊圖案後,在功能列「圖形格式」中圖案樣式可以自行更改圖案顏色、外框、效果等
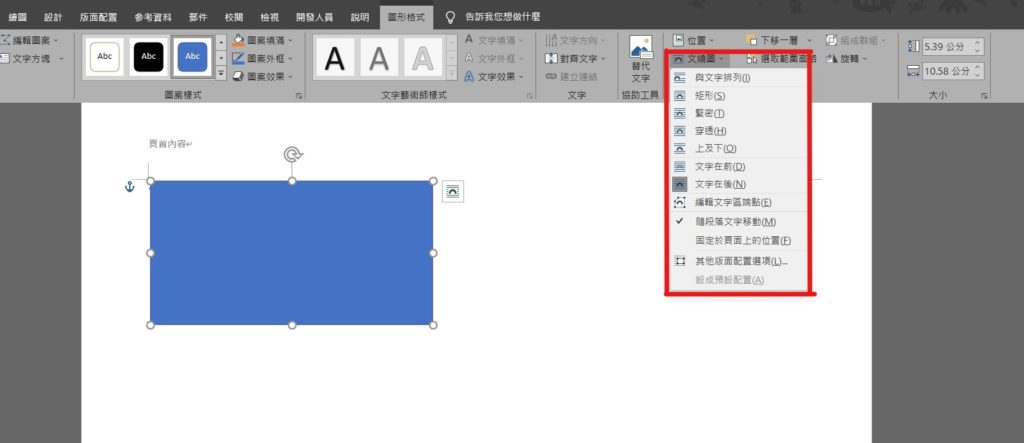
Step 3 在功能列「圖形格式」中排列選擇「文繞圖」,選擇「與文字排列」即可將圖案插入文章順序當中
【教學】Word 如何插入實心方塊?將圖案與文字排列!
A blog of my life

word 實心方塊
Step 1 在功能列「插入」中圖例選擇「圖案」內的「矩形」,並按住滑鼠左鍵拖移來繪製圖案
Step 2 點擊圖案後,在功能列「圖形格式」中圖案樣式可以自行更改圖案顏色、外框、效果等
Step 3 在功能列「圖形格式」中排列選擇「文繞圖」,選擇「與文字排列」即可將圖案插入文章順序當中