
word 帶入資料 合併列印
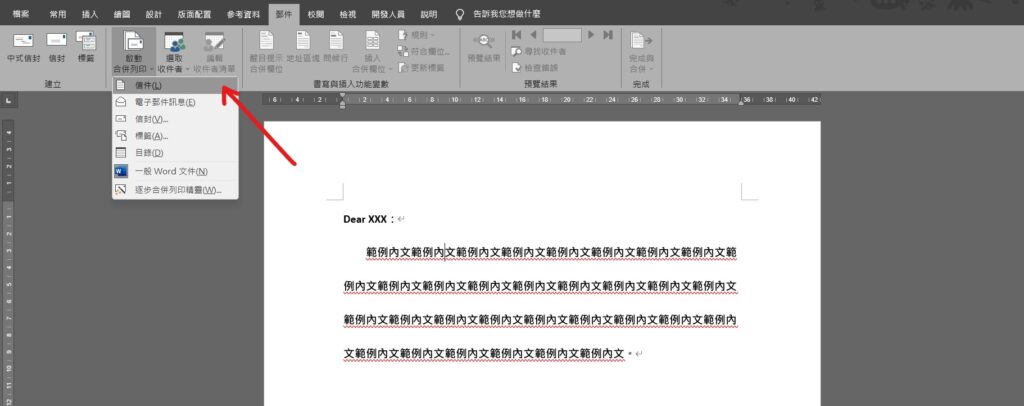
Step 1 先將範本文件準備好,在功能列「郵件」中啟動合併列印選擇「啟動合併列印」內的「信件」、「電子郵件訊息」、「信封」、「標籤」、「目錄」等等
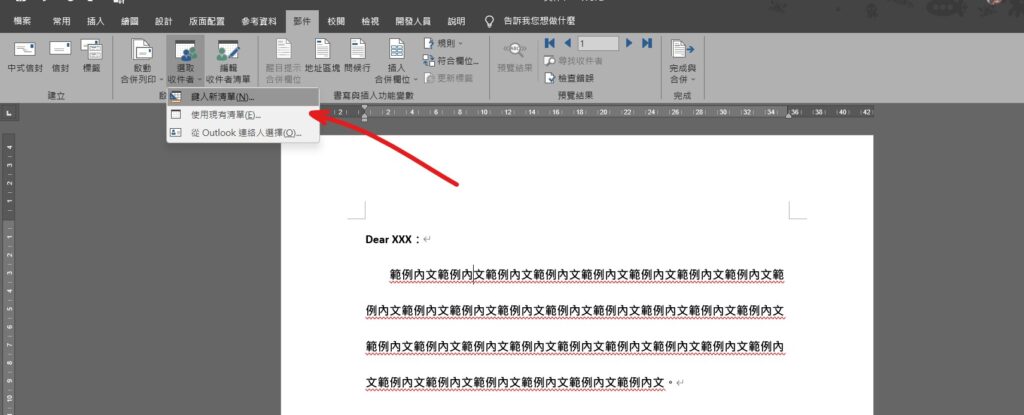
Step 2 在功能列「郵件」中啟動合併列印選擇「選取收件者」,若已有清單可以選擇「使用現有清單」並匯入,如無現有清單即選擇「鍵入新清單」

Step 3 在功能列「郵件」中啟動合併列印選擇「編輯收件者清單」,可以單獨取消某些收件者,點選資料來源並點擊「編輯」可以更改收件者清單內容
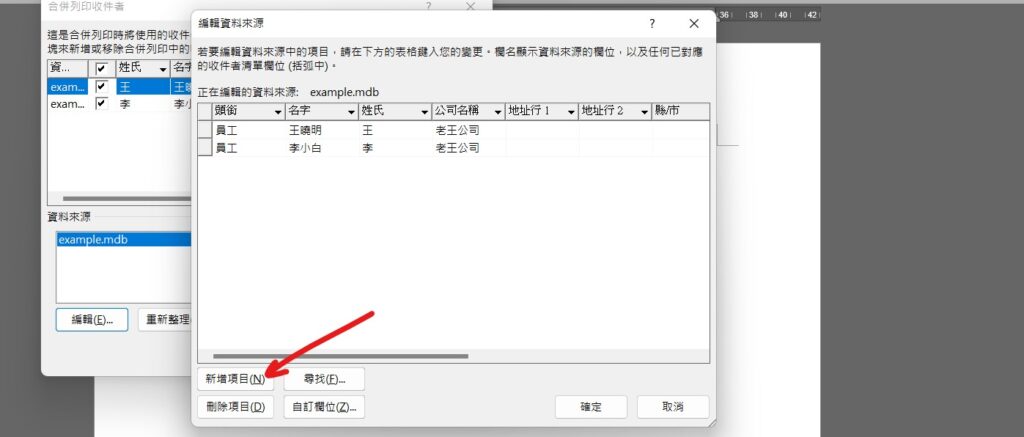
Step 4 在「編輯資料來源」中新增項目可以新增新的收件者,選擇「自訂欄位」可以新增項目欄位名稱
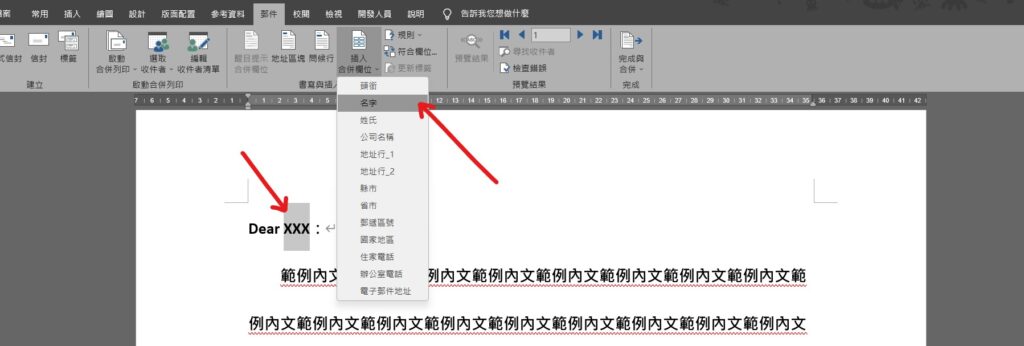
Step 5 在文件內容中選取要套入收件者資料的位置,並在功能列「郵件」中書寫與插入功能變數選擇「插入合併欄位」,將對應的資料帶入內容中
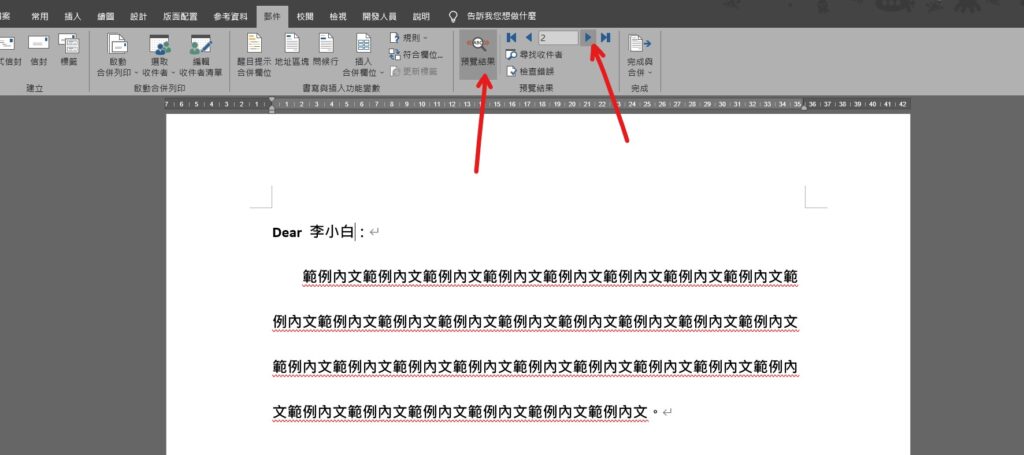
Step 6 在功能列「郵件」中預覽結果選擇「預覽結果」,即可自行查看是否帶入資料成功
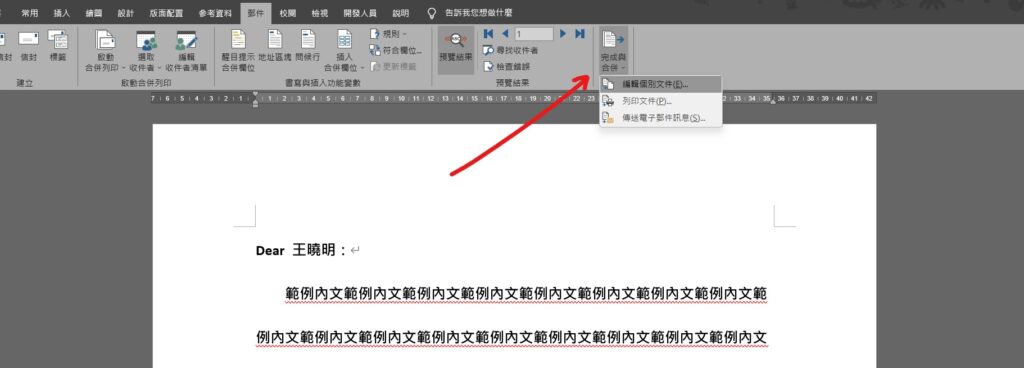
Step 7 在功能列「郵件」中完成選擇「完成與合併」內的「編輯個別文件」、「列印文件」或「傳送電子郵件訊息」即可完成
【教學】Word 如何使用合併列印快速帶入資料?跟著步驟馬上搞定!