
word 註腳 章節附註 位置 註腳格式設定
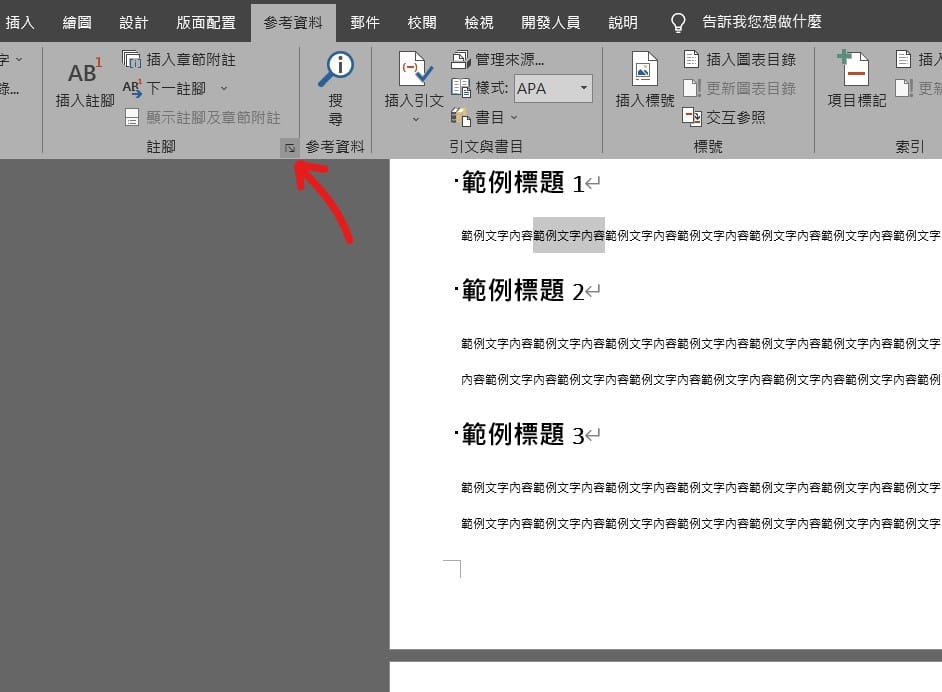
Step 1 在功能列「參考資料」中註腳選擇「更多註腳設定」
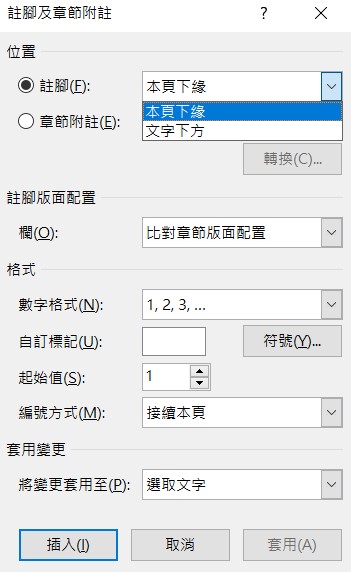
Step 2 在「位置」中可自行選擇要設定「註腳」或是「章節附註」,使用下拉選單可以調整顯示位置

Step 3 在「註腳版面配置」可以選擇「欄」數,預設為「比對章節版面配置」
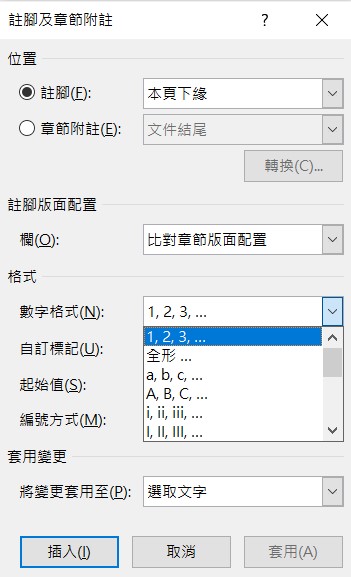
Step 4 在「格式」中可以設定編號類型、起始值等等,也可以自行設定符號作為編號類型
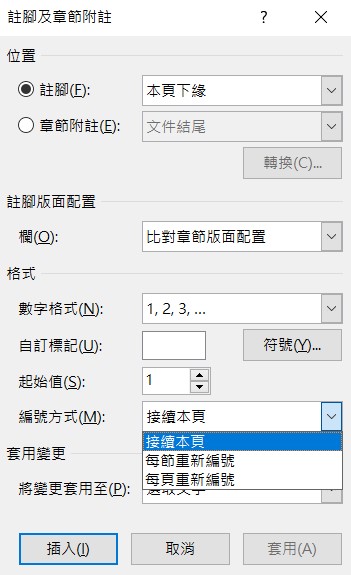
Step 5 在「編號方式」可以設定「接續本頁」、「每節重新編號」、「每頁重新編號」
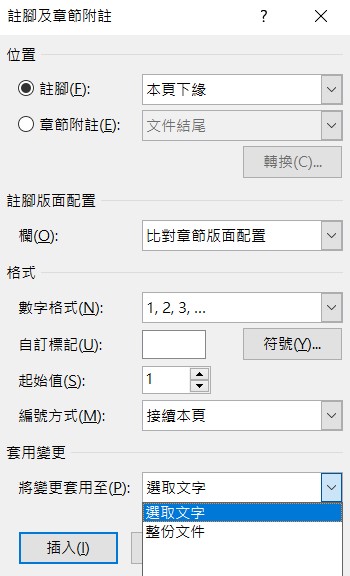
Step 6 套用變更可設定「選取文字」或是「整份文件」,設定完成後按下「插入」即可
【教學】Word 如何更改註腳、章節附註位置及編號設定?