
word 生字簿

Step 1 在功能列「插入」中圖例選擇「圖案」內的「長方形」,並繪製
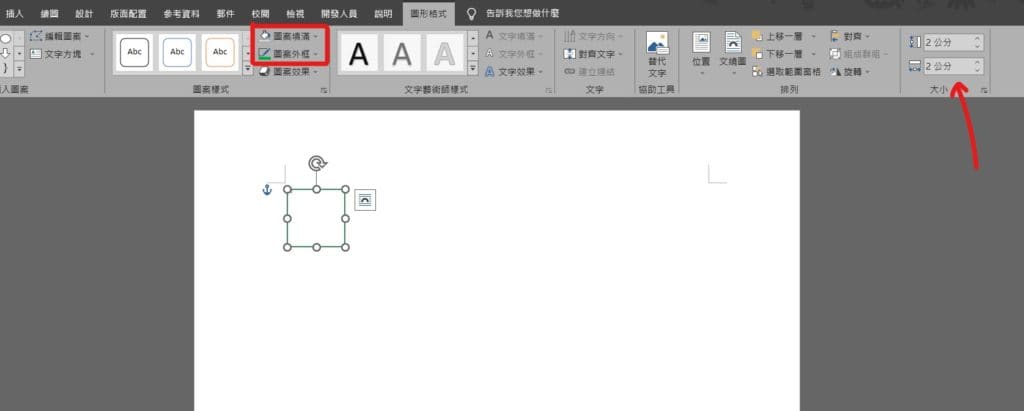
Step 2 點選繪製後的圖形,在功能列「圖形格式」中圖案樣式將「圖案填滿」設為「無填滿」,將「圖案外框」設為「綠色」,並將大小高度及寬度皆調整為「2公分」
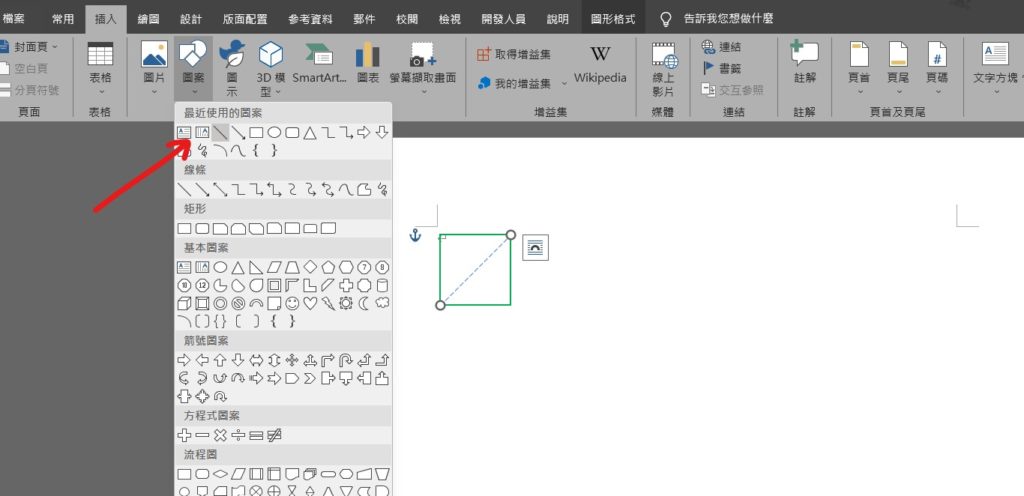
Step 3 在功能列「插入」中圖例選擇「圖案」內的「線條」,並繪製對角線
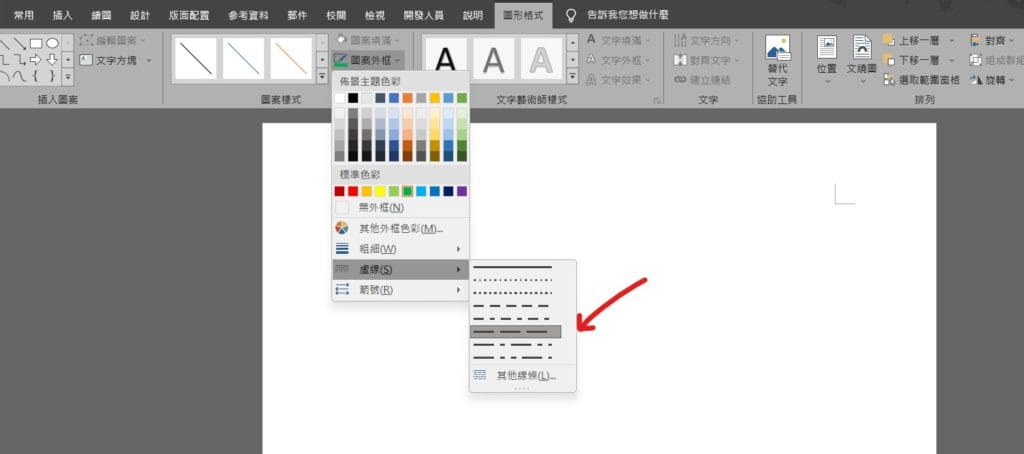
Step 4 點選「線條」,在功能列「圖形格式」中圖案樣式將「圖案外框」設定為「綠色」,選擇「虛線」並選擇「長虛線」
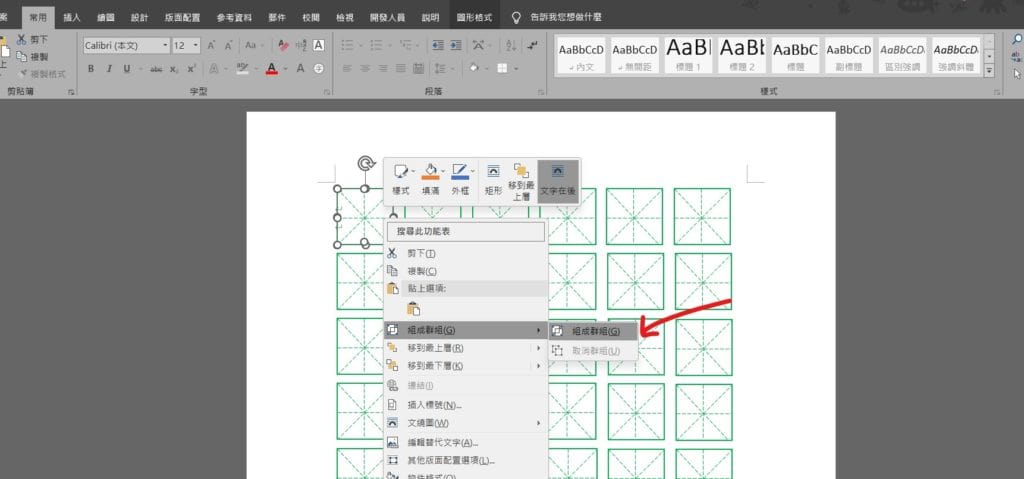
Step 5 將圖形繪製完成後,將所有線條選取,並點擊滑鼠「右鍵」選擇「組成群組」,最後複製貼上將頁面填滿
【教學】Word 如何自製小學生生字簿?內附檔案直接下載!