
word 標籤
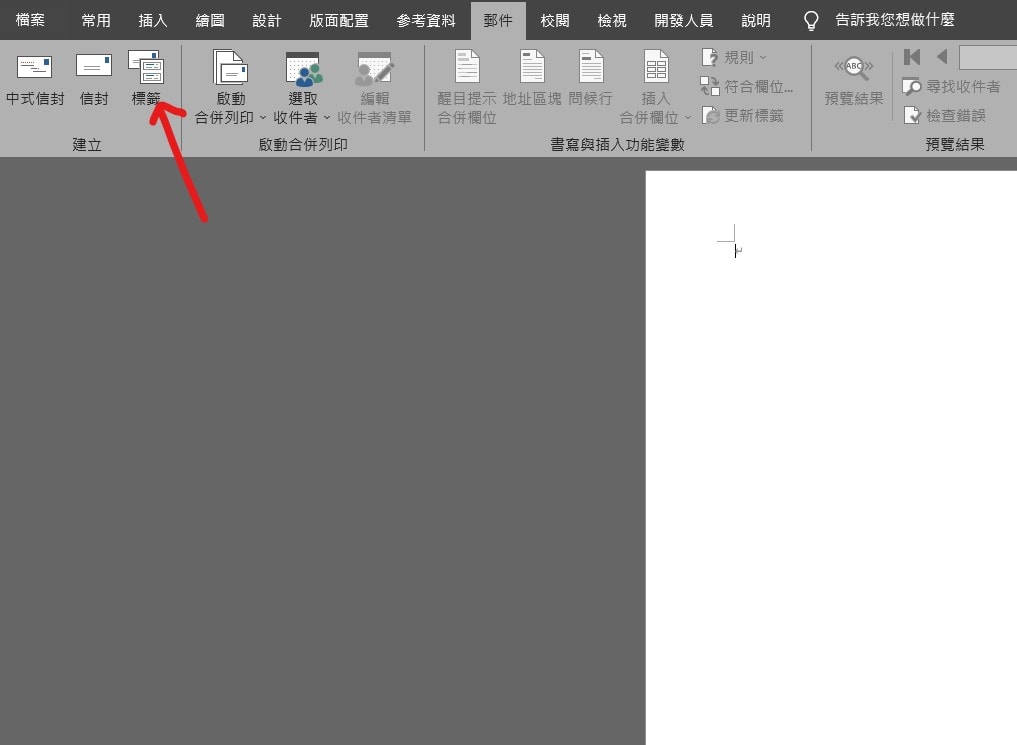
Step 1 在功能列「郵件」中建立選擇「標籤」
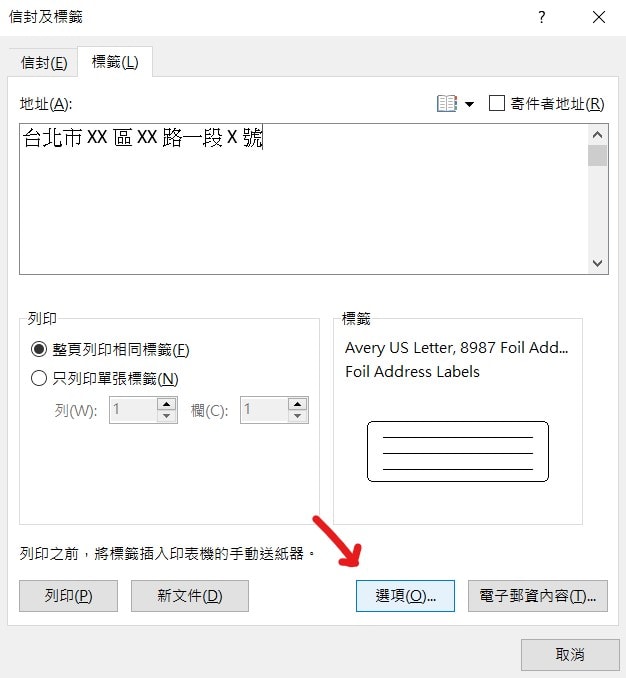
Step 2 在「地址」內輸入標籤內容後,點選「選項」
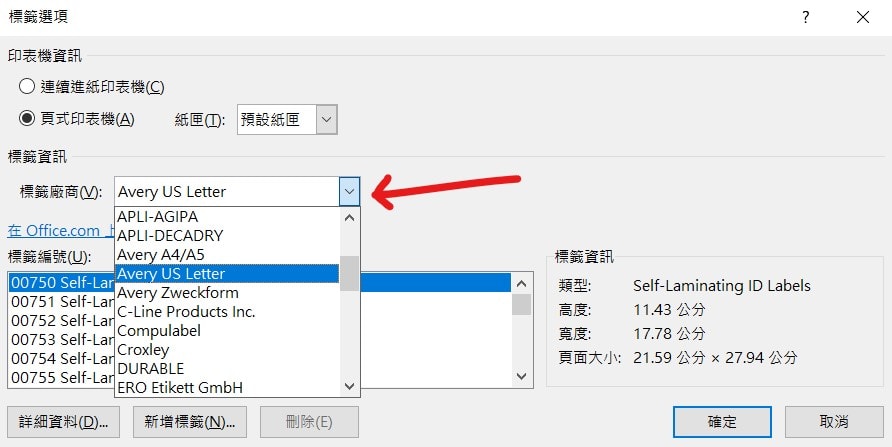
Step 3 可在「標籤廠商」中自行選擇
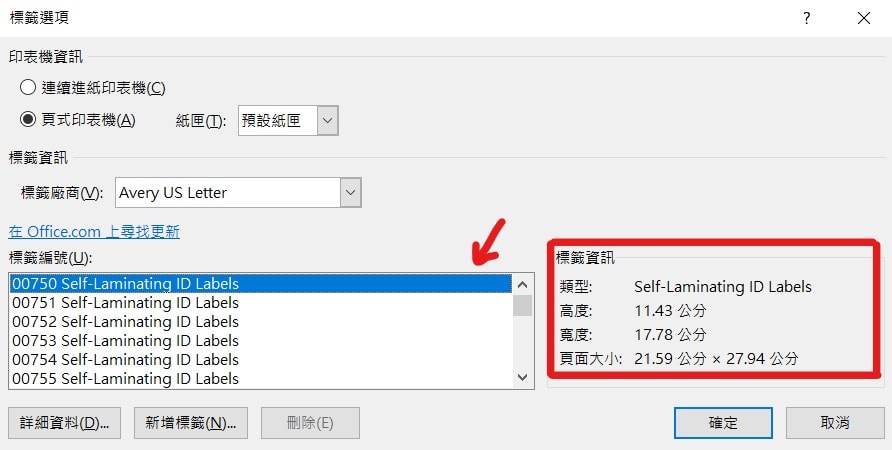
Step 4 選擇標籤廠商後,需要選擇「標籤編號」,依照自己的需求,參考右邊「標籤資訊」選擇適當的標籤大小
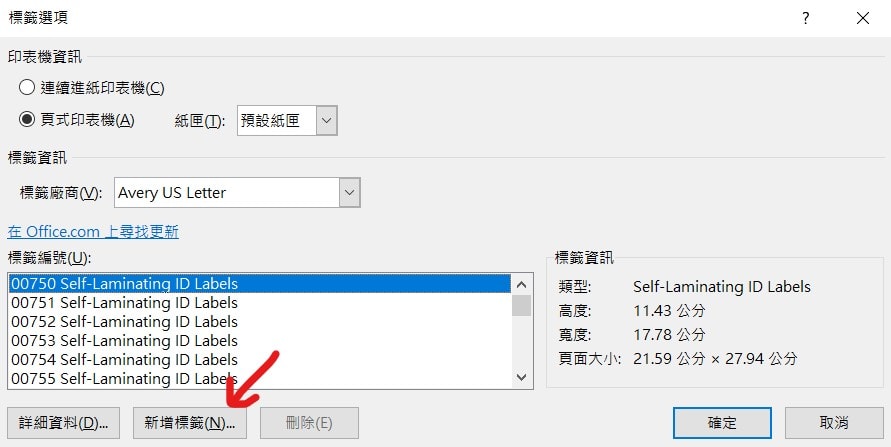
Step 5 如找不到適當的標籤編號,可選擇「新增標籤」自訂
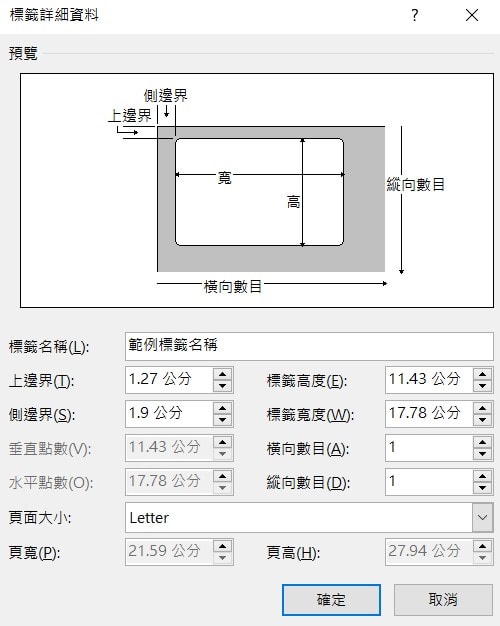
Step 6 輸入「標籤名稱」、「上邊界」、「側邊界」、「標籤高度」、「標籤寬度」、「橫向數目」、「縱向數目」、「頁面大小」等等設定,輸入完成後按下「確定」
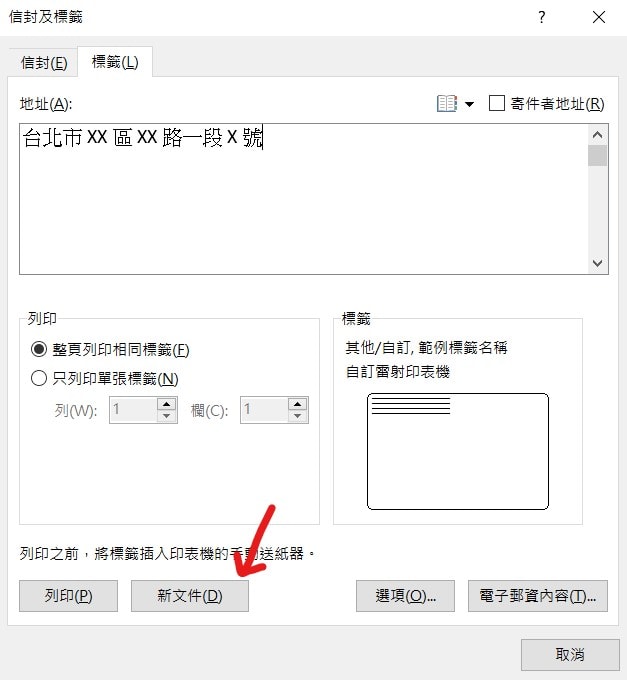
Step 7 點選「新文件」
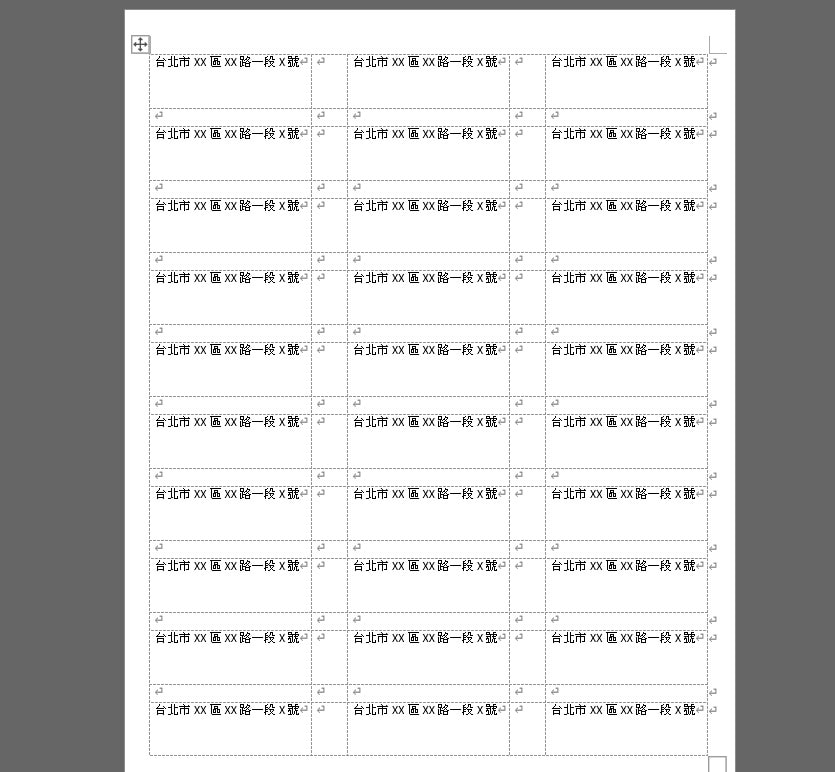
Step 8 可以看到標籤製作完成囉!
【教學】Word 如何製作標籤?一步一步詳細解說!